Dreaming of building your own bartop arcade but don't know where to start? This complete guide takes you from A to Z, from A0 format PDF plans to the final assembly of your cabinet.
Why Choose A0 Format for Your Plans?
The A0 format (841 x 1189 mm) is the professional standard for cutting plans. Here are its advantages:
- 1:1 Scale — No calculations or conversions, pieces are full-size
- Maximum Precision — Clean lines for error-free cutting
- Laser/CNC Compatible — Files optimized for professional machines
- Large Format Printing — Available at all print shops
Standard Bartop Dimensions
Our bartop design uses proven dimensions, optimized for gaming comfort:
| Element | Dimensions (inches) | Dimensions (cm) |
|---|---|---|
| Total Height | 25.6" | 65 cm |
| Width | 24" | 61 cm |
| Depth | 20" | 51 cm |
| Recommended Screen | 17-19" | 43-48 cm |
| Screen Angle | 15-20° | — |
Recommended Materials
MDF (Medium Density Fiberboard)
- Thickness: 18 mm (¾")
- Advantages: Easy to machine, smooth surface, affordable
- Disadvantage: Moisture sensitive, heavy
Birch Plywood
- Thickness: 15-18 mm
- Advantages: Lighter, durable, beautiful edges
- Disadvantage: More expensive, can splinter when cutting
Melamine
- Thickness: 16-19 mm
- Advantages: Ready-to-use finish, easy to clean
- Disadvantage: Edge chipping, less aesthetic
Bartop Components
A standard bartop consists of 8 to 10 main pieces:
- Side Panels (x2) — The characteristic cabinet shape
- Back Panel — Component access, ventilation
- Bottom — Structure support
- Control Panel Deck — Playing surface with joysticks and buttons
- Screen Mount — Holds the monitor at optimal angle
- Marquee — Top illuminated header
- Bezel — Frame around the screen
- Access Hatch — Maintenance and wiring
Step-by-Step Cutting Guide
Step 1: Printing the Plans
- Download the A0 PDF file
- Visit a print shop (Staples, Office Depot, local copy center)
- Request 100% scale printing on standard paper or tracing paper
- Verify the scale with a ruler on the plan's reference marks
Step 2: Transfer to Panel
Tracing Method:
- Secure the plan to the panel with masking tape
- Use a sharp point to mark the corners
- Connect the points with pencil
Template Method:
- Cut out the shapes from the paper plan
- Trace the outline onto the wood
- Faster for batch production
Step 3: Cutting
Jigsaw (DIY):
- Fine wood blade (T101B)
- Medium speed, slow feed
- Follow the outer line
Track Saw:
- Ideal for straight cuts
- Depth set to thickness + 2 mm
CNC/Laser Cutting (pro):
- Import the vector file (DXF/AI)
- Precision to the tenth of a millimeter
- Perfect edge finish
Step 4: Assembly
Pre-drilling:
- 3 mm drill bit for 4 mm screws
- Countersink for flush screw heads
Gluing:
- D3 wood glue for indoor use
- PU glue for extra strength
Screwing:
- 4x40 mm wood screws
- Every 15-20 cm on joints
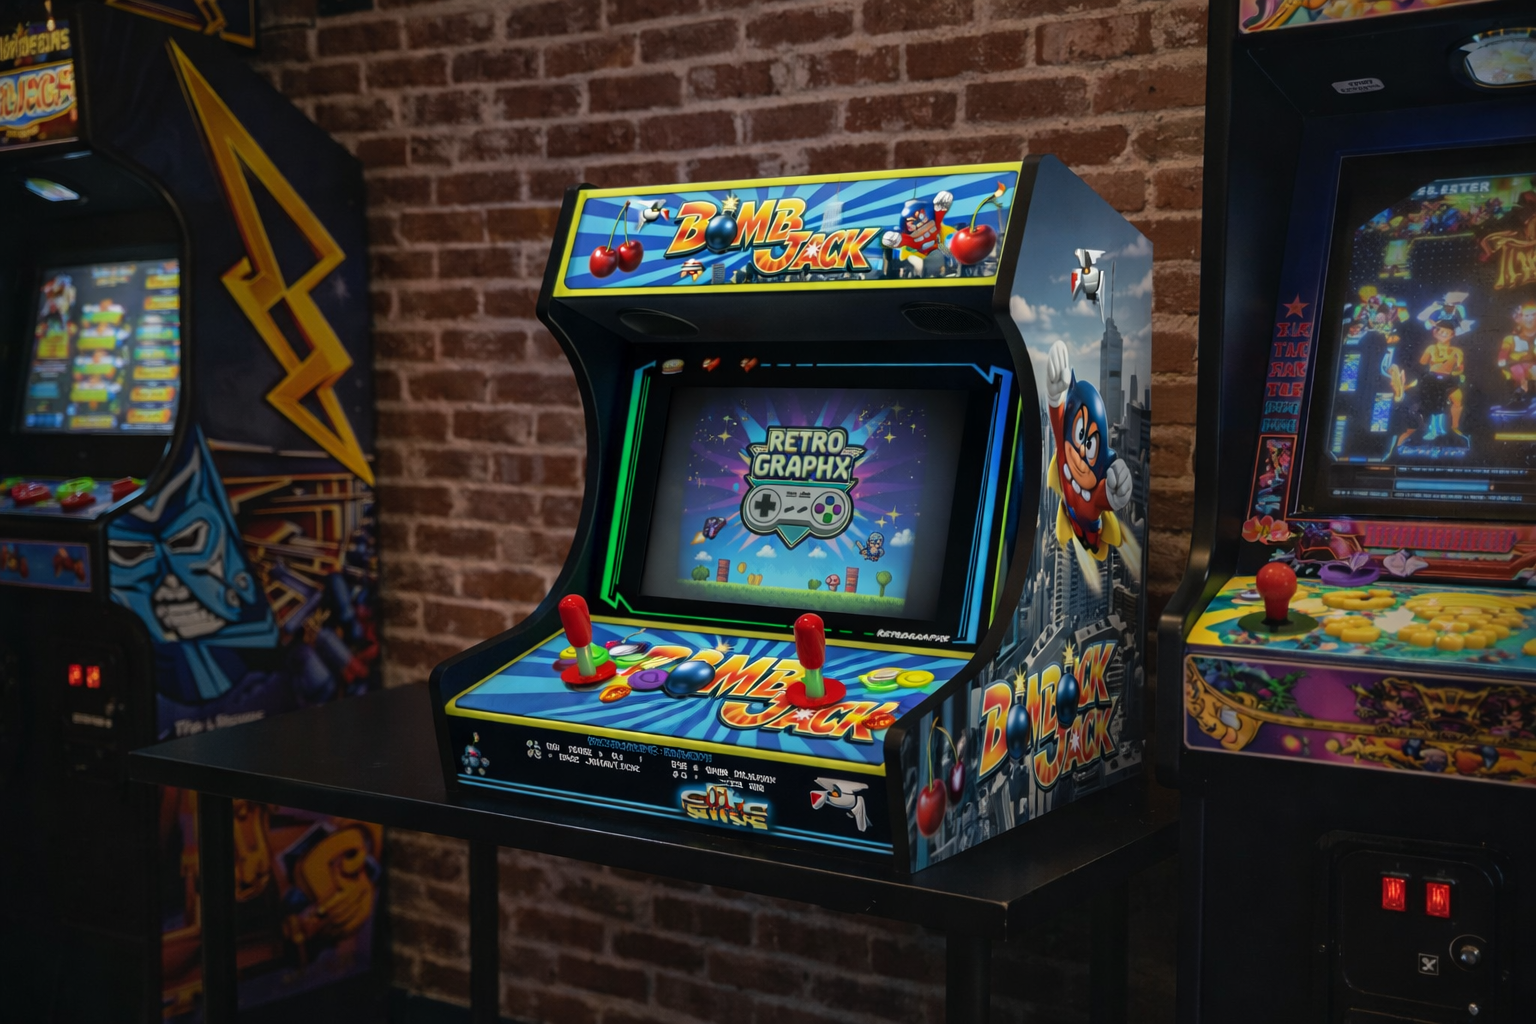
Customization with RetroGraphX Graphics
Once your structure is assembled, bring it to life with our graphics kits:
- Side Art — Side panel decoration
- Marquee — Illuminated header with game logo
- Control Panel Overlay — Playing surface cover
- Bezel — Decorative frame around the screen
All our files are provided in high resolution PDF (300 DPI) and layered PSD for complete customization.
Pro Tips
- Measure twice, cut once — The carpenter's golden rule
- Dry fit test — Before gluing, verify everything fits
- Plan for ventilation — A Raspberry Pi runs cool, a PC runs hotter
- Keep wiring neat — Use cable sleeves and connectors
- Protect the wood — Varnish or paint before applying graphics
Additional Resources
Conclusion
Building your own bartop arcade is a project accessible to all DIY enthusiasts. With A0 format PDF plans, you eliminate measurement errors and save valuable time. Combined with RetroGraphX professional graphics, you'll get a cabinet worthy of 80s arcades.
Ready to get started? Download our 1:1 scale A0 plans and discover our graphics kits.
Sébastien
Founder & Arcade Designer
Passionate about arcade for over 20 years, Sébastien has restored and customized dozens of cabinets before founding RetroGraphX. Expert in arcade graphics and large format printing, he shares his expertise to help the community create unique cabinets.
Enjoyed this article?
Transform your arcade cabinet with our premium graphics
Progress
RetroGraphX
Arcade expert
Passionate about retro gaming and arcade cabinet customization for over 10 years.
See our creations